Github Actions - What it is and How it works.
Github Actions is an awesome thing to learn and do things with. It is the most accessible DevOps Automation Tool since it comes prebundled with Github and anyone having a Github Account and a repository on it can use it makes it super handy in my opinion and everyone should understand and try to use it whenever they can in my opinion.
Github Actions is a service provided by Github using which you can run tasks automatically when certain triggers are triggered in your repository.
For Example -
- As soon as you push some code you can have a pipeline which compiles and builds your applications.
- As soon as you raise a PR an action can check code quality of added code.
- An action which automatically runs after every few minutes to do something completely random
The final part of this list of examples is what makes me excited about it. Although the first two are the reason why most people use it.
We can go through an example here that shows you how to build a pipeline that can build your app and run it.
For us to do that we need to understand how you can create actions and how to define steps that will be carried out in that action (i.e. what that action will do when its executed.)
Where to Define the Actions.
All the Actions can be described as a YAML file inside the .github/workflows
folder. You can learn more about how a YAML file is created here.
So if you want to create your first action you can create a file names
.github/workflows/first-action.yaml and voila you will have a action file
ready to define your actions.
Structure of a Github Action.
Widely speaking Github Action file has 3 main parts.
- Action Information and Metadata.
- Trigger Definitions.
- Action Steps Definitions.
And it would look something like this
Notice that in the above embed we have 3 sections which I have marked using
# comments i.e. metadata, trigger and jobs section.
Lets go over these 1 by 1.
Metadata -
Metadata section actually contains the content that is usually used to describe the Github Action. You can have a
nameand then arun-namethe main difference between them isnameis shown in the list when you click on Actions tab in a repository andrun-namecan be used to specify names for a particular execution instance as it can include event-specific information in it.For Example -
Name -
Build ActionRun Name -
Build Action #34Triggers -
Triggers section is used to define when do you want for this Action to be executed. Triggers can be of a lot of different types like
- Push (tags, branches)
- Pull Request (updates)
- Manual Dispatch
- Workflow Call
Jobs -
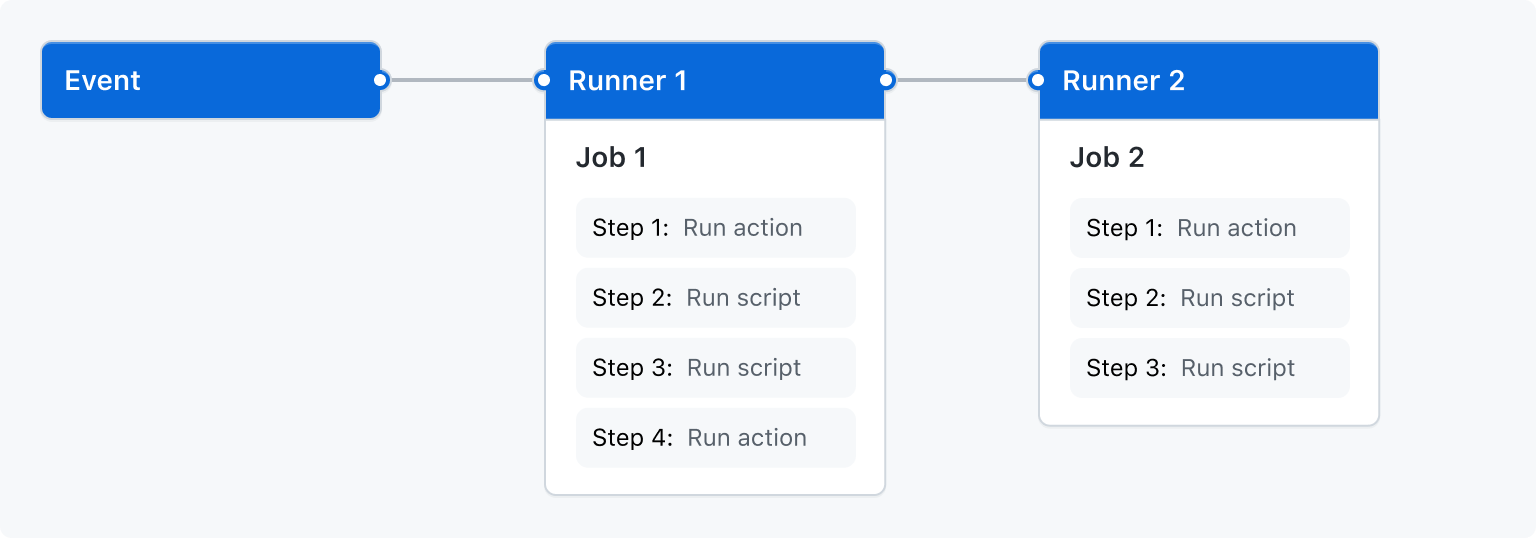
Jobs are the actual series of actions that get executed when this action is triggered. These are list of Jobs which individually have list of steps in them which get executed when the action is executed.
There are other sections in a Github Actions File that you can create but these 3 are the most important ones. I will talk about other fields in my upcoming blogs. But Lets now see at Jobs in a little bit more detail.
Jobs item in a action is a collection of Job item which in turn is a list of
steps. All the jobs defined in a action run parallelly by default but if you
want you can run then sequentially by defining dependency of a job on another
by using the needs field inside a job definition. Each Job runs on a runner
which can be specified using runs-on field of the job definition.
Actions and Scripts
Each job as previously mentioned is a list of steps and the steps are executed
sequentially as they are defined inside a job. Each step can be a predefined
action or a script that you have defined either in the workflow itself or
somewhere in your codebase. For Example if you look at the gist we have
embedded up a few lines above you will that the very first step is Checkout
which is actually an action which is defined in the repository
actions/checkout
So in short, if you want to run a self defined script you can use the
run keyword to describe the script and if you want to use some action that is
precreated you can use the uses key to define which action you want to use.
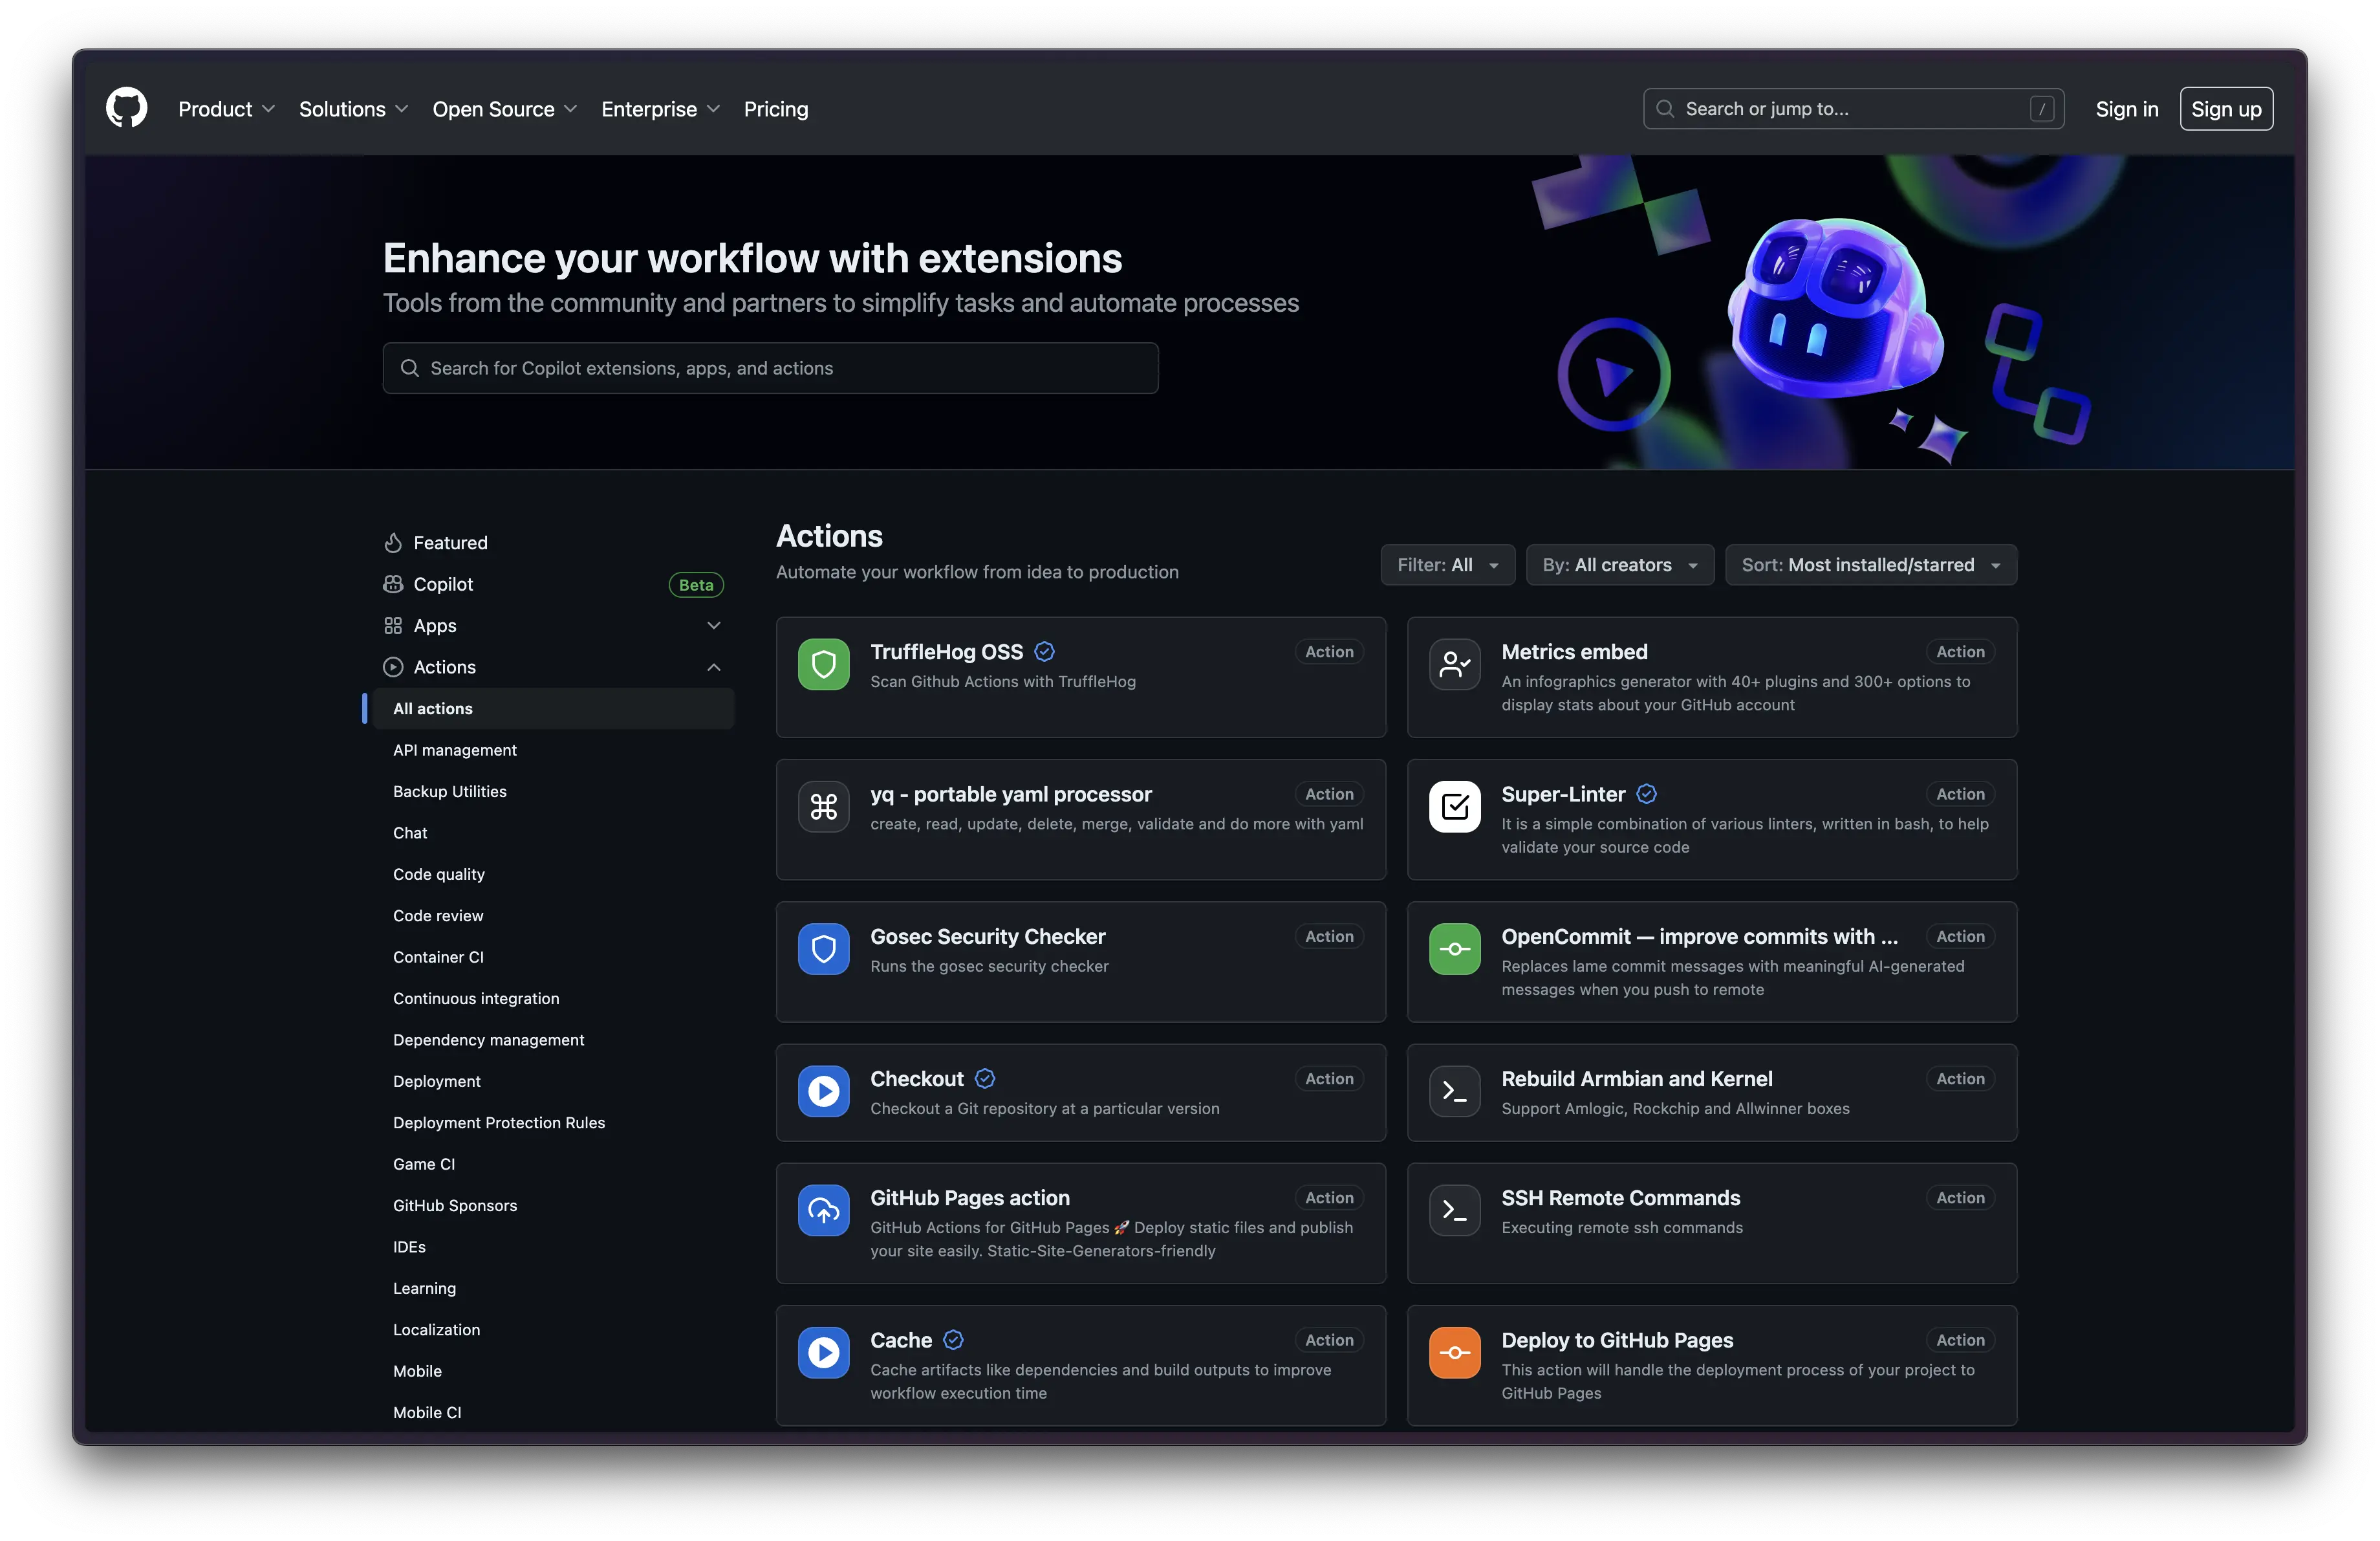
The exhaustive list of all precreated Github Actions can be found here

Here you can find actions for almost anything you can think off, we can find actions for building Android Apps. Language specific builds for apps written in Java, Dotnet, Kotlin etc. Actions that can check website vulnerabilities, send an alert SMS etc and a lot of other cool things
Inputs and Environment Variables
Now to use most of these actions you would need to provide some values to them, Lets say for example you want to have an an action that sends an alert SMS the action would atleast require you to provide it some mobile number to which you want it to send an SMS.
Like this
Notice that we provide the number that we want to send an SMS to as an input.
We also provide a bunch of other information but we can talk about it later.
For now lets make sure that you understand that inorder to provide input to an
action you can use the with keyword and provide the inputs which are required
by an action.
The same can be done for your scripts. Yes, normally when we write scripts we
utilise a lot of environment variables and these environment variables can be
set for a job using the env keyword over a job definition.
For Example ->
Notice that you can set env variables at the job level or even at the workflow
level. At the workflow level you can define it under env key as key-value
pairs, just as you would at the job level. You can also override the values which
are defined at workflow level inside an action when needed to, so basically you
can use the env variables defined at the workflow level to be like default options
and you can define most custom options at workflow level. 🧠
Signing Off
While there are many other things that you can do with Github Actions but these are the very basics that you should understand and these will take you a long way if you do not understand them very well currently.
I will post other blogs soon where I cover more things in more depth.
Thank you for reading 🫰 See you soon.